Every new operating system for Mac has its newest improvements and features that can be useful for some people and totally useless for others. The Big Sur system came in November 2020 and it has notable changes in design. Maybe you are a user who decided to try a new system but now thinks about coming back to your previous version? If so, this article will help you to downgrade from Big Sur successfully without any problems for you and your device.
Needless to say, we all have hopes for new software to get something new and unexpected, and sometimes, this new experience can make us feel disappointed and regret about upgrading the OS. But it’s possible to downgrade to Catalina without stress. Of course, you might hear this is not an easy process to do. Keep reading our article and get useful tips on this question. We assure you it’s possible to downgrade following our detailed instructions.
These are the main reasons why some users may not like upgrading to Big Sur:
- They got used to the design of their operating system, and the renewed design makes them confused during the work.
- People may notice their favorite apps just refuse to work on the new OS.
- The computer has a terrible battery life using the new system.
Choose the one from two simple and effective ways we put below to downgrade the Mac successfully.
Backup All the Files and Documents
Everyone has many important files on the computer they don’t want to lose. We suggest saving the most important documents to secure locations like the flash drive, external hard drive, or cloud storage. When you will complete the downgrade, all files and documents on your device will be deleted completely, so you need to create all the needed backups you may need. All the information can be saved on iCloud Drive, Google Drive, or a USB drive.
In fact, there are 2 ways you can use to downgrade your device to Catalina OS. Below, you can read about each of them in detail.
1. Clean Install Way With USB Installer
We have to say this way seems a bit complicated but if you do everything right, you’ll get a good result. The main goal of this way is to make a USB installer drive that contains the Catalina operating system and then a clean install. It’s a good way for those users who don’t have a fast and stable Internet connection and want to keep a USA installer of Catalina just in case. Here are the main steps you have to fulfill:
- Backup all the data using a Time Machine or manually.
- Download Catalina OS from Mac App Store or Apple’s server.
- Create a bootable USB drive.
- Format the MAc and reinstall the operating system.
After downgrading, don’t forget to download all the needed apps from the App Store.
2. Installing Operating System Using the Internet
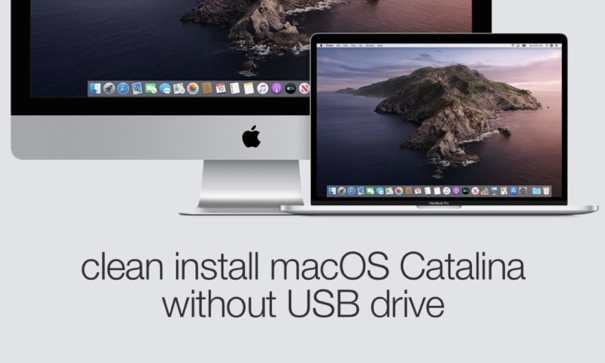
This method doesn’t require any USB drive. All you have to do is boot the Mac up, then press down just a couple of keys, go to Internet Recovery and install a new operating system easily. This method is very simple and suits those users who have a fast and stable Internet connection. Here are the main steps you need to make:
- Power down your device.
- Power the Mack back and press Command+Option+R.
- Make sure your computer is connected to WiFi.
- When you see the installation screen, click Disk Utility.
- Choose the HDD or SSD of your computer, then click Erase, and confirm your action without changing any settings.
- When the disk is erased, go to the main screen and install a fresh copy of Catalina OS. Follow the prompts on the screen during the installation.
Please make sure you have a fast connection before you do something. As you can see, there is nothing too complicated in both methods. Just be attentive and follow the main instructions.


